Self-Tapes have become an essential tool in an actor’s portfolio and have been much more frequently requested during the pandemic. But don’t be apprehensive about self-tapes. They are a fantastic way to quickly show-off what you can do and give a first impression about who you are as a performer.
It’s easy to get overwhelmed with the technology but remember the KISS principle: Keep It Simple Stupid.
I think, especially in musical theatre, casting directors are very understanding that we are locked down, sporting our best Zoom tops and pyjama bottoms, and doing our best to present professionally from a home set-up. What they really want to see…is our TALENT!
We don’t need all the gadgets and software (not saying these wouldn’t be lovely) but If I could recommend just 3 simple things to enhance our self-tapes they would be:
1) a plain background
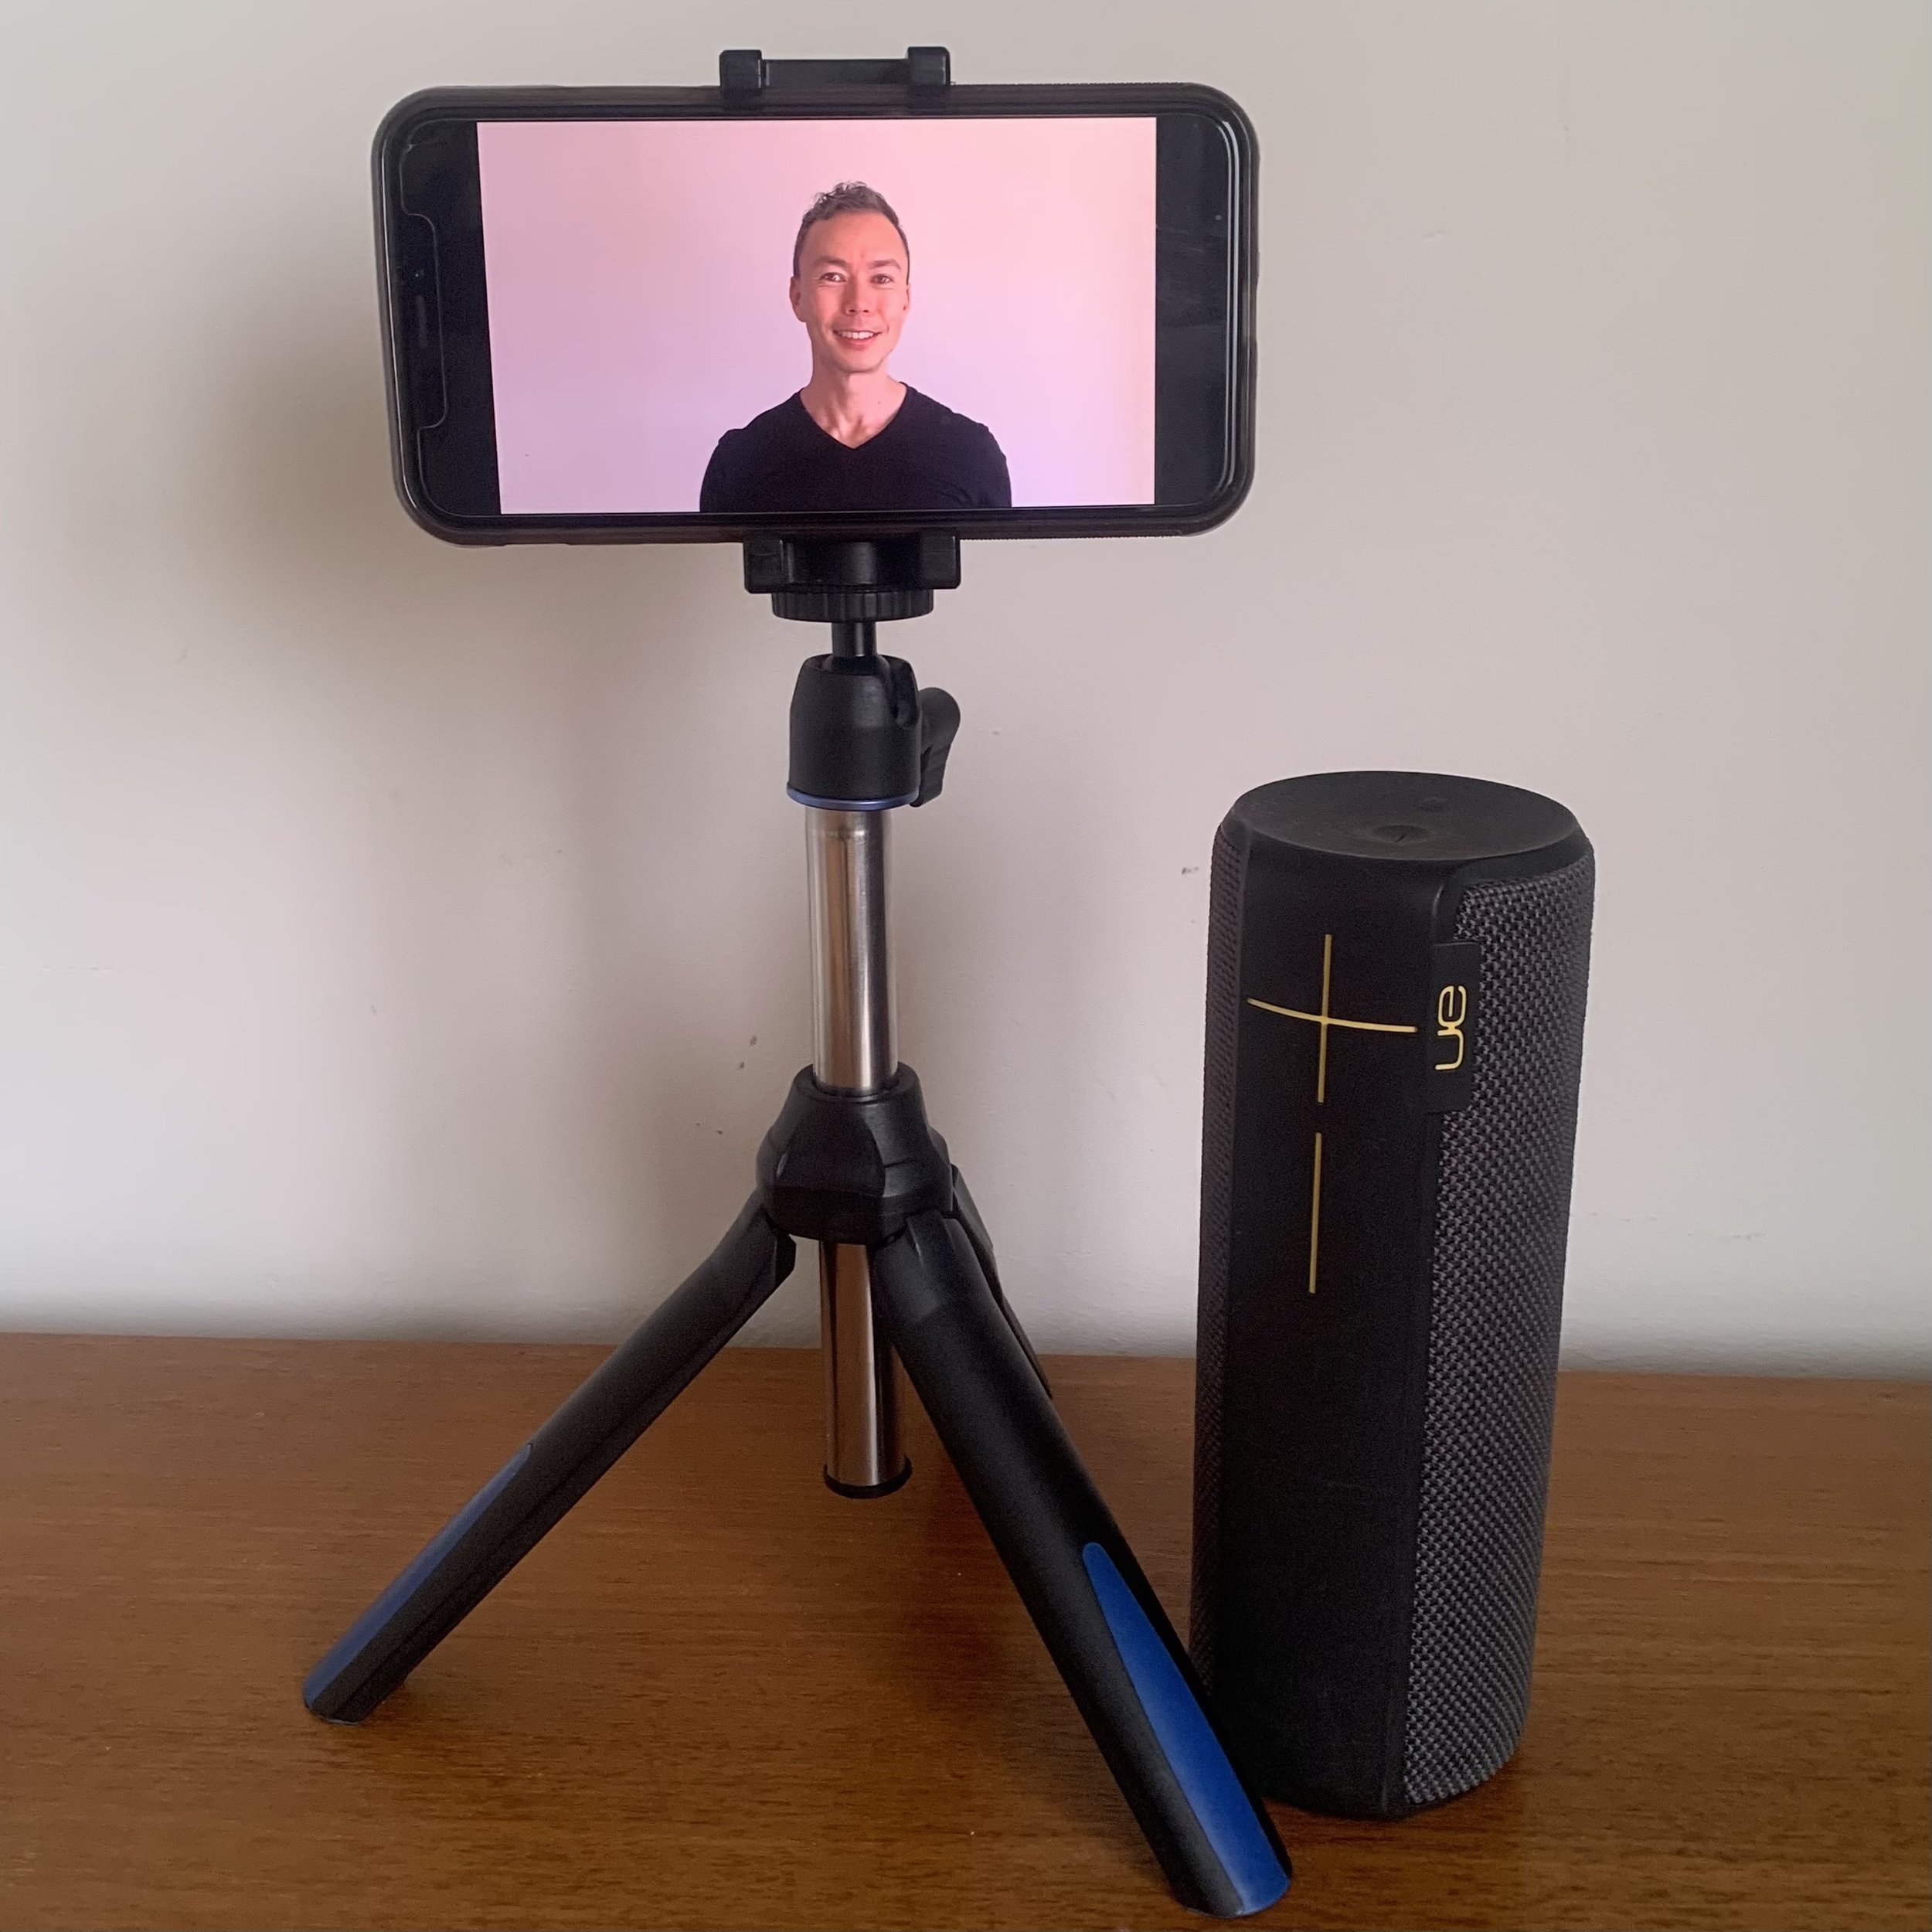
2) a tripod for your phone to film
3) a speaker to create a good sound balance
A PLAIN BACKGROUND allows the audience/audition panel to focus on you! I actually have fun playing with different plain backgrounds or using a solitary chair, but that’s really just to give my personal self-tapes some differentiation. You can see this on my IGTV with the 16 Bar Challenge. For an audition self-tape I film against a plain wall. If you don’t have a plain wall, can you create one or hang a curtain or sheet? Home décor or clutter can detract from your work. If you have the budget, a pop-up screen could be a really good investment if you struggle to find plain backgrounds at home.
A TRIPOD for your phone enables you to get the height, angle and distance exactly right when filming. This is a huge plus. Frame yourself properly from the outset and you won’t need to do any editing. The only editing I want to do is where my tape is going to start and end! Then direct upload – done and dusted! On this point, remember not to stand too close to the wall so you don’t cast a visible shadow. And you want to stand far enough back from the phone to give yourself good framing (in landscape, perhaps from the navel up) and to be a decent distance from the phone’s microphone so it picks up the sound of your voice in the room without distortion.
A SPEAKER to play your backing track (eg Bluetooth speaker: I use a medium sized Ultimate Ears model) will help to achieve a full, rich sound in the room. It’s important to position this speaker behind you for a good sound balance being picked up in your phone’s recording. It may also need to be off to one side if you’re standing near a wall, but basically you want to be closer to your phone than the speaker is. If playing your track in iTunes another tip is to put this track last in a playlist (so another track doesn’t start afterwards), but use the end of the previous track to give yourself time to press record and get yourself ready in front of the camera. You can have a relaxed start this way and simply cut it afterwards.
So, I hope these first tips are helpful. I’ve coached so many self-tapes over Zoom the last couple of years, I would say it’s a great time saver if you can work with a director/coach. Someone who can guide your singing and acting to bring out your best, but who can also yell “Cut” when you should start again and avoid taping the whole song multiple times. They will help you get the best take from the outset and minimise the time needed to choose and edit your final take.
Next blog will delve more into the Acting Through Song for Camera. But this one is to get you set up! My class is already available on Catch-Up at The Sing Space if you weren’t able to join me live. See you in the Challenge!